Users can make groups of pupils in order to customise their filtering and analysis options. Teachers may, for example, wish to create ability groups to make it easier to input assessments or intervention groups to track effectiveness of additional provision. Senior leaders often create groups of vulnerable children specific to their school’s context in order to track these in higher-level analyses such as the Cohort Report.
Pupil Asset offers several different ways of grouping pupils:
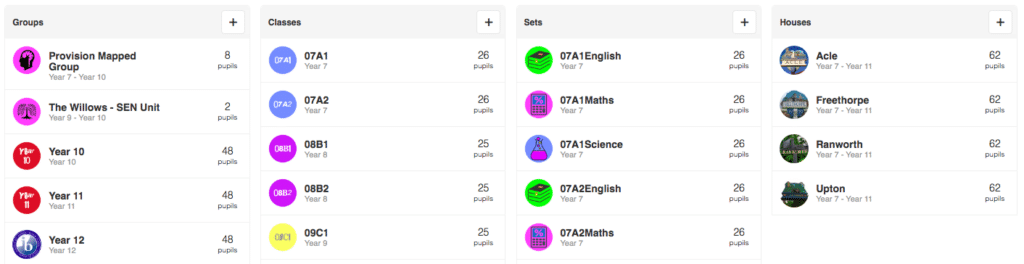
– Groups: A group of pupils at any level. Particularly useful for tracking intervention groups, phonics groups, guided reading groups or any other internally tracked school group. Pupils can either by hand-picked for or the Filters block can be used to find learners with certain characteristics e.g. Disadvantaged and Male.
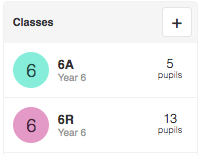
– Classes: In primary school, these are the principal registration groups. In secondary settings, this tends to be form/tutor groups.
– Sets: Generally used for subject-specific groupings, often determined by similar streamed ability levels.
– Houses: General whole school groups to which a student is affiliated with when they join the school. Personal merits are often attributed to a student’s house, accruing as “house points”.
– Clubs: Can include after school clubs, lunchtime clubs or early morning breakfast clubs
– Staff: Can be used for setting up groups of users for SMS/Emails and/or events
– Live Groups: The pupils included in these groups are determined by the pre-saved Filter settings. Alerts can be set to notify users when pupils move in or out of these groups. For more information on managing Alerts, see ‘How to manage Alerts’.
To view all the different categories of groups and to select and de-select which ones to view, click on Display Options in the Pupils > Groups page.
Setting up new groups
Navigate to Pupils > Groups.
Click on the plus sign next to the e.g. Groups/Classes header to create a new group/class.
Fill in the details in the window that appears- options differ between different types of groups, but the majority will have the following fields:
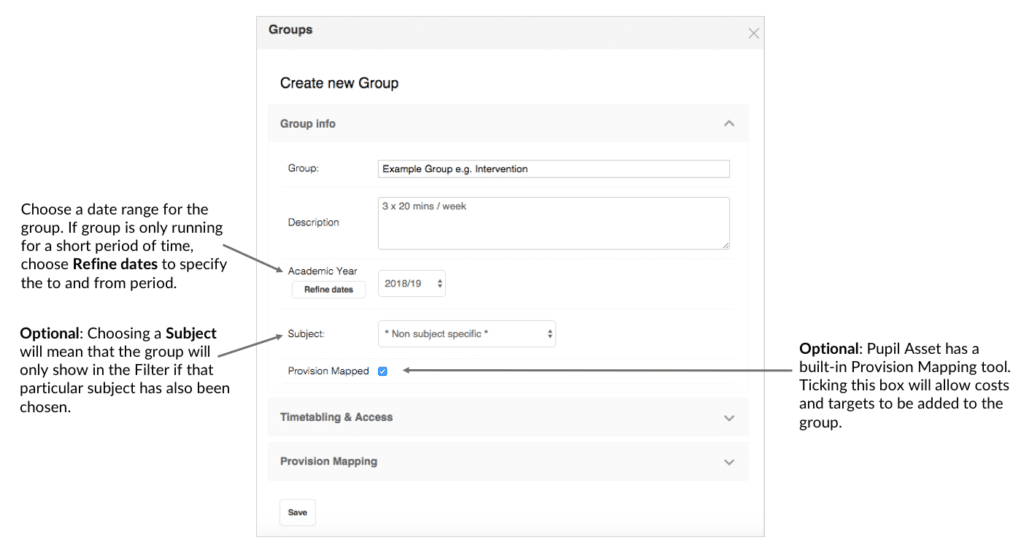
Once saved, the newly created group should appear in the respective section within Pupils > Groups.
NB: If you do not see your group immediately, do not create another one – check your Display Options – you may have previously chosen to have a default year group set to support navigation of the system, e.g. Year 6, and therefore, if your group does not yet contain Year 6 children it will not show. Changing the display to Whole School should help you find your new group.
Adding students to the group
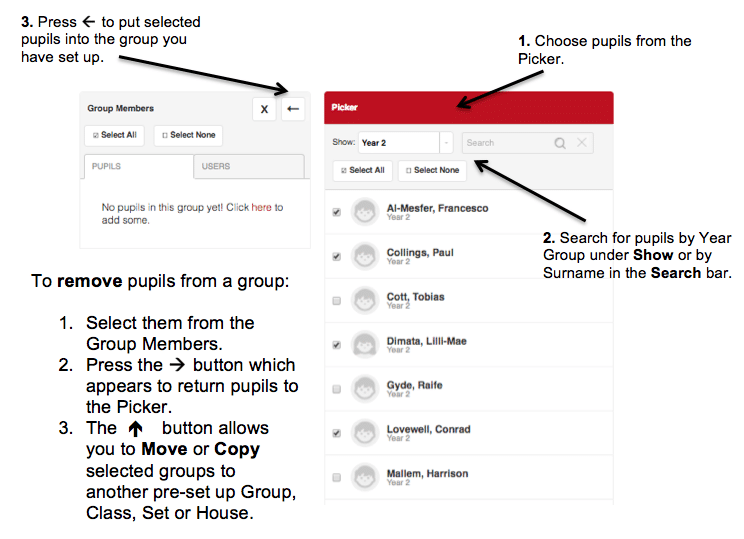
Clicking on the newly created group will take you to the relevant Dashboard where you can add pupils using the +/- button in the Group Members area.
Finally, to add Teachers to the class, click on USERS and select the required staff member(s) from the Picker drop down.
Whilst you are within a group, there are various tabs you can navigate to:
– Dashboard: Gives you the headline data for that group including Group Members, Description and members’ behaviour scores.
– Edit: Will allow you to make changes to the original group set up and access some of the more advanced group options.
– Breakdown: Will show you the contextual information for your group e.g. gender, FSM, ethnicity. .
– TimeCal: If the group is featured within the school timetable, the details will show up here (PA MIS users only).
– Documents: Creating the group creates a folder that can also be found under Home > School Documents. This can be used to store documents that relate to the group or class.
– Attendance: View the attendance of the group for the selected time period.
– Results: If you have assigned the group to a subject, you will automatically see the results for the group of pupils, for that subject. If not, you can choose a subject to view the results.
– Provision Mapping: If a group has been provision mapped, then the details will show up here. For more information on Provision Mapping, see ‘How to use Provision Mapping‘.
– History: This will allow you to see who was added or removed from the group and when. It will also allow you to manually amend start and end dates for children if creating groups retrospectively.
– SMS Messaging: Send text messages to the group’s contacts via this tab.
– Email: Send emails to the group’s contacts via this tab.
Using the Filter to create groups
You might choose to set-up groups of pupils in response to data analysis. Rather than starting the Group set-up process from scratch (as above), it can be quicker and easier to save a group after identifying the students.
Use the Filter to select to the required students. In the example below, 12 pupils from across the school have been filtered on the basis that they are SEN and entitled to Pupil Premium funding.
Click on the Save icon to view group options.

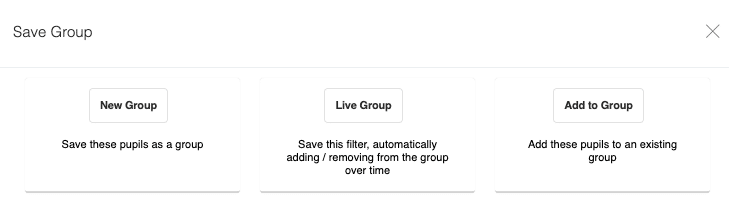
Using Pupil List to create a group
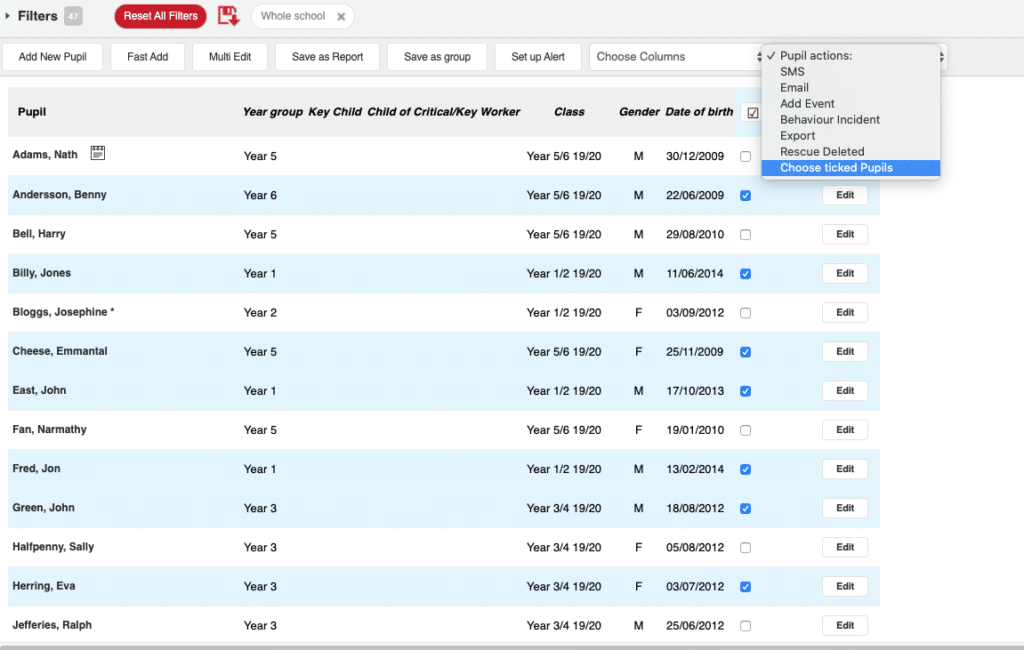
Pupils can also be added to a group via the Pupil List page.
Add a tick in the boxes for pupils you wish to be in a group.
Once you have ticked all the pupils, click Choose ticked pupils from the Pupil actions dropper.
The cohort can then be saved by clicking the Save icon (as above).
Copying Groups and Classes
In order to make the management of groups easier, particularly for end of year roll-over, the new Advanced section within Pupils > Groups allows for quick copying of groups from one academic year to another.
We have written a guide showing you how to copy groups and class here.