To set up a new event, go to Pupils > Event Management and click on Add New Event.
You can then enter the name of the event, the type (selecting the type as Club will cause any charges or payments associated to the event to be allocated to the Clubs pot), and the start and end date. For example, if the event takes place on one day, the start and end date can be the same. Multi day events such as a residential can have an end date after the start date.
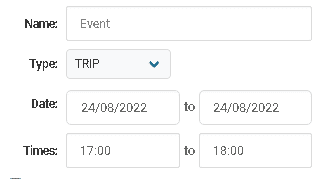
The Running Cost of the event is an optional field that can be used for an admin reference of the overall cost to the school of running the event.
From + person and + group, either specific pupils or users can be searched and added to the event one by one, or an entire class, year group or other type of school group can be selected, which will add all associated pupils and users to the event.
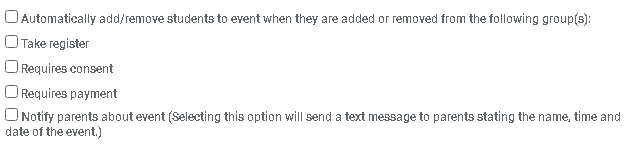
Pupils can be added or removed from the event automatically by ticking the option of the same name. This means that if, for example, a pupil leaves the school and is archived, the transaction for the event is cancelled and they are removed from the event.
Ticking the option to take a register allows the option of a ‘trigger’. This means that any staff listed on the event can take a register for the event, which then can either automatically transfer to either or both of the AM and PM sessions, or to ignore the trigger and just be for the event.
Requires consent allows parents to give consent if they have access to the app or portal, and for admin users to update any consents in Event Management.
Requires Payment adds a text box to enter the cost to each pupil attending the event, which creates a transaction equal to the required payment.
Once these details are complete, press Save and the event will be created.