Pupil Asset MIS has facilities for the creation, auto-population, editing, approval and sending of school reports to parents.
To get started, navigate to Messaging > Pupil Reports.
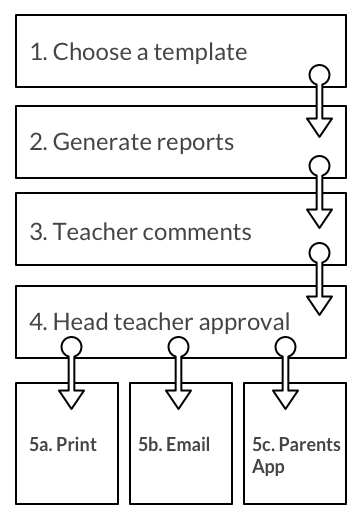
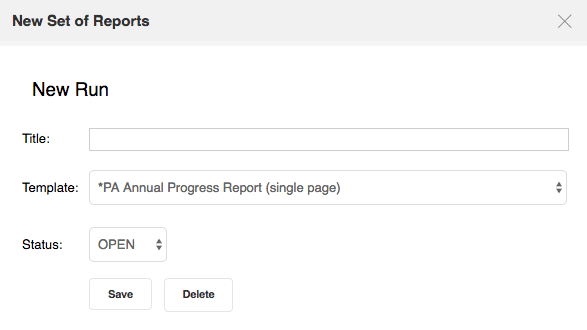
Step 1) Choose a Template
Under the All Reports tab, click New set of Reports and choose your template. Users can choose from a range of Pupil Asset standard reports; your own school or cluster pre-designed reports; or one created using our Template Designer. If creating new reports, keep the status as OPEN.
Step 2) Generate Reports
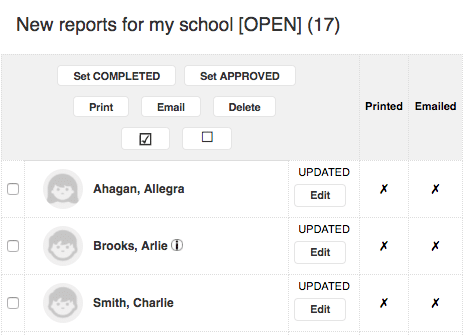
You will now have been automatically moved into the View/Edit reports tab. Use the Filter to select the pupils you wish to generate reports for and click Generate Reports (depending on the size of the report and the number of pupils selected, this may take a while so please be patient).
Once the reports have been generated, you can start editing them straight away, simply scroll down to view the reports and click Edit.
Step 3) Add Teacher Comments
Teachers can be sent a Pattr message to notify them that reports are ready to be completed. This will be done automatically if teachers have previously been assigned to the classes/sets of pupils who reports have been generated for.
As well as receiving a Pattr message, a Widget on the teacher dashboard will also show that there are outstanding reports to complete.
Teachers can now navigate to Messaging > Pupil Reports > View/edit reports and select the reports they wish to edit.
If pasting text from another application, we would strongly recommend using a basic editor such as similar to Notepad/Sublime/TextWrangler. If pasting from word processing software (e.g. Microsoft Word ), to avoid formatting problems ensure that you hold down CTRL and Shift and V to paste and the text should appear in the same font, size and style.
If authorised to do so, teachers can also choose to change the status of the report to highlight the fact that it has been completed.
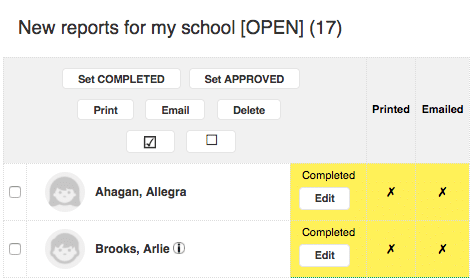
Step 4) Approval
Once teacher comments are in and the reports have been marked as Completed, the reports can then be proofread, checked and saved as Approved.
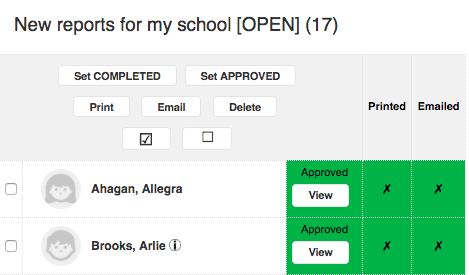
Step 5) Printing/Sharing
Approved reports can be either printed (simply select All from Parents > Pupil Reports > View/Edit Reports and press Print ) or E-mailed (using the same process but clicking Email at the end).
Published Pupil Reports can also be made available for viewing in the Parents App by selecting the relevant option in Admin > School Options > MIS Options > Show school reports.
At any point, users can get an overview of the status of generated reports by navigating to Messaging > Pupil Reports > All Reports.

Accessing Past Reports
Each report is saved against the Pupil Profile and can be accessed from the Pupil Asset Parents App.